
-
-
Start by gathering all the parts. Check the BOM.
-
Start by trimming the square beams 45 degrees at one edge.
-
Drill M4 holes 200mm from the 45 degrees cut parallel to the cut.
-
On the other end create a notch approximately 25mm long on opposite sides.
-
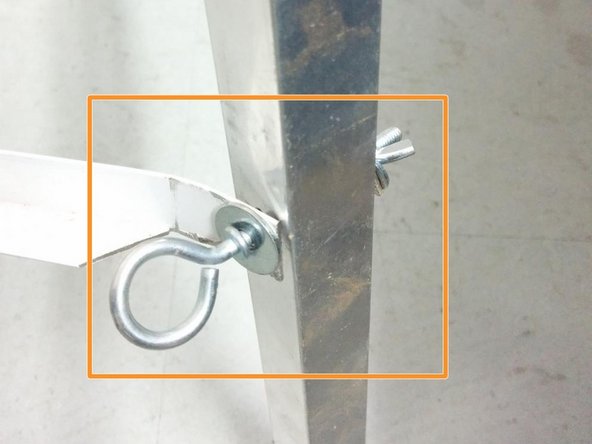
Then form a round edge and drill a M6 hole in the middle of it.
-
-
-
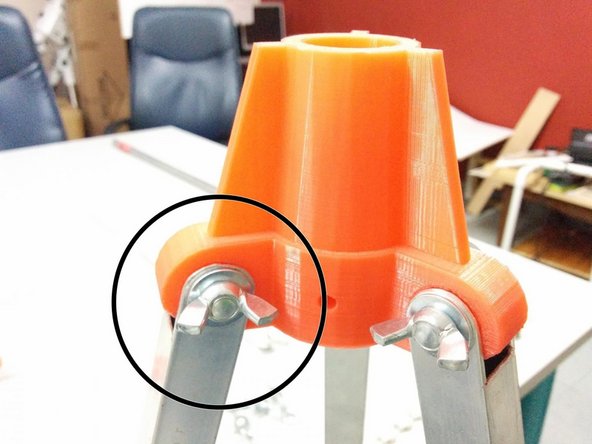
Assemble the top part using the top bracket (3D printed) and the M6 bolts as shown.
-
Cut the sides of the L channel aluminum beams on each of their edges by aprox 20mm and then bend them gently inwards. Then drill M4 holes on the bended side.
-
Attach the L channel aluminum to the 20x20 aluminum beams as shown using M4 bolts.
-
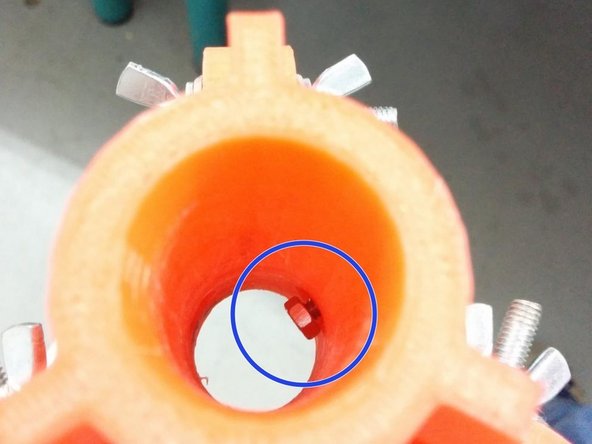
Insert an M4x20mm bolt on the top bracket, and secure it with a bolt in place as shown. This will be used to tighten in place the vertical aluminum tube.
-
-
-
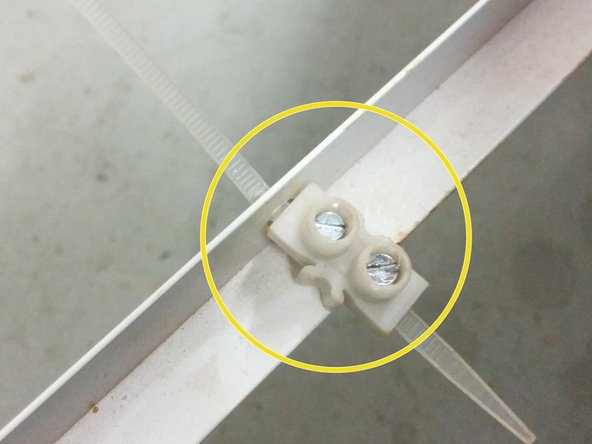
Drill M5 (or what fits) holes on the middle of the vertical sides of the L channel aluminum beams.
-
Pass the cable ties through the holes and secure them using single cable connector strips.
-
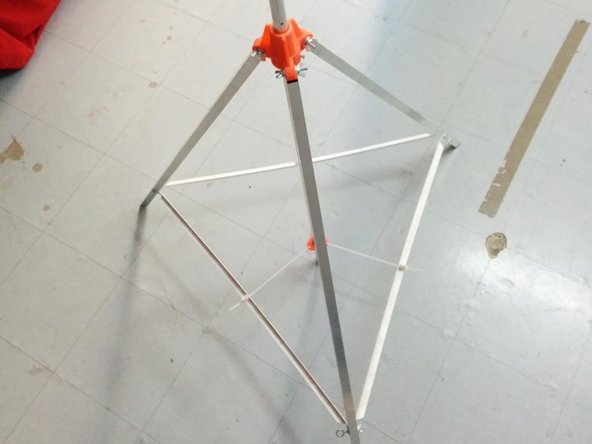
Once all 3 ties are in place, slide the Φ22 aluminum pipe through the top and the bottom 3D printed brackets.
-
Secure and tie all bolts. Adjust the height of the aluminum central pipe if needed.
-
Your tripod is now complete!
-
You can dissemble and easily carry the tripod by unsecuring 2 of the 3 cable ties, detaching one side for each of the three L channel aluminum beams and loosing the top bracket bolts.
-


Cancel: I did not complete this guide.
One other person completed this guide.
