
Introduction
To feel the world, feel the creatures,feel internal .CN:为了更好的了解世界,了解他人,了解自己。“见天地,见众生,见自己”
-
-
Electronics Assembly You will need: CN: 电路组装
-
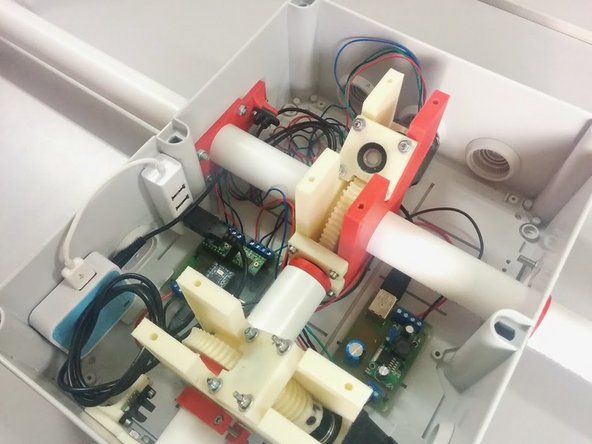
The SatNOGS v2 Mechanical Ground Station Assembly. CN: SatNOGS v2 的地面基站机械部分组装
-
TP-Link WR703N
-
SatNOGS PCB. CN: 印刷电路板部分,下同
-
SatNOGS PSU PCB
-
A 4 port USB hub. CN:4端口的USB hub
-
2 USB micro cables. CN: 2条USB迷你连接线
-
One double wire for 12V to SatNOGS PCB
-
-
-
Using double sided foam tape, place the TP Link on the side as shown. CN:用发泡双面胶把TP Link路由器粘贴在一侧
-
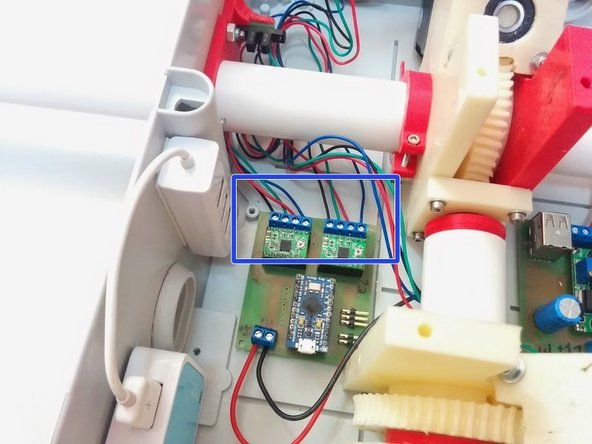
Place SatNOGS PCB as shown (with foam tape).CN:把发泡双面胶带及PCB板放在图示位置
-
Place SatNOGS PSU PCB as shown (with foam tape).CN:同上
-
Stick with foam tape and connect the USB hub as shown.CN:按图示粘贴及连接USB hub
-
-
-
You will need 2 USB micro cables.CN:需要两个迷你USB线
-
One USB micro cable should start from the PSU PCB and end to TP-Link (for power supply).CN:其中一条从PSU板子连到TP Link,用于供电
-
The other USB Micro cable should start from the USB Hub and end to the Arduino Micro (for data connection).CN:另外一条从USB hub到迷你Arduino的板子,用于数据传输
-
You have now finished all electronics setup of your Ground Station.CN:现在你已经完成了电路部分的组装
-


Cancel: I did not complete this guide.
One other person completed this guide.

2 Comments
Please,
What 3D printer and material are you using to print the parts?
Thanks!
Nereu Camara - Resolved on Release Reply
Used Objet to make the gears; other parts made with Dimension
(University of Alabama 3D lab)
AB4EJ -